How Are Solar Panels Installed?
Installing solar panels involves several key steps to ensure efficient and effective harnessing of solar energy. Here’s a comprehensive guide on how solar panels are typically installed:
Step-by-Step Guide to Solar Panel Installation
1. Initial Consultation and Site Assessment
- Consultation: Discuss your energy needs, budget, and goals with a solar provider.
- Site Assessment: Evaluate your roof or ground space for solar panel suitability:
- Roof Condition: Check roof orientation, angle, and structural integrity.
- Shading Analysis: Assess potential obstructions like trees or nearby buildings that could affect sunlight exposure.
- Permitting: Determine necessary permits and regulations for installation.

2. Designing the Solar System
- System Design: Create a customized solar panel system based on site assessment and energy requirements.
- Panel Selection: Choose solar panels based on efficiency, durability, and warranty.
- Inverter Selection: Select inverters to convert solar energy into usable electricity (string inverters, microinverters, or power optimizers).
3. Financing and Incentives
- Cost Estimation: Receive a detailed quote including system costs, installation fees, and potential savings.
- Incentives: Explore available rebates, tax credits, or financing options to reduce upfront costs.
4. Permitting and Approvals
- Permitting: Obtain necessary permits from local authorities, utility companies, and homeowners’ associations.
- Interconnection: Arrange grid interconnection agreements to sell excess electricity back to the grid (if applicable).
5. Installation Process
- Preparation: Schedule installation date and prepare the site:
- Safety: Ensure installers have proper safety equipment and procedures.
- Equipment: Gather solar panels, mounting racks, wiring, and tools.
- Mounting: Secure mounting racks to the roof or ground:
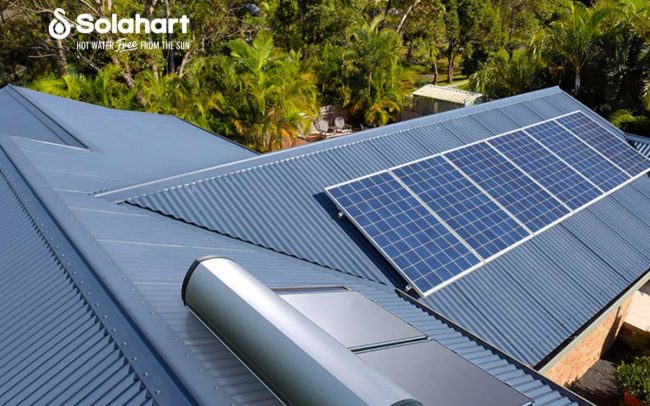
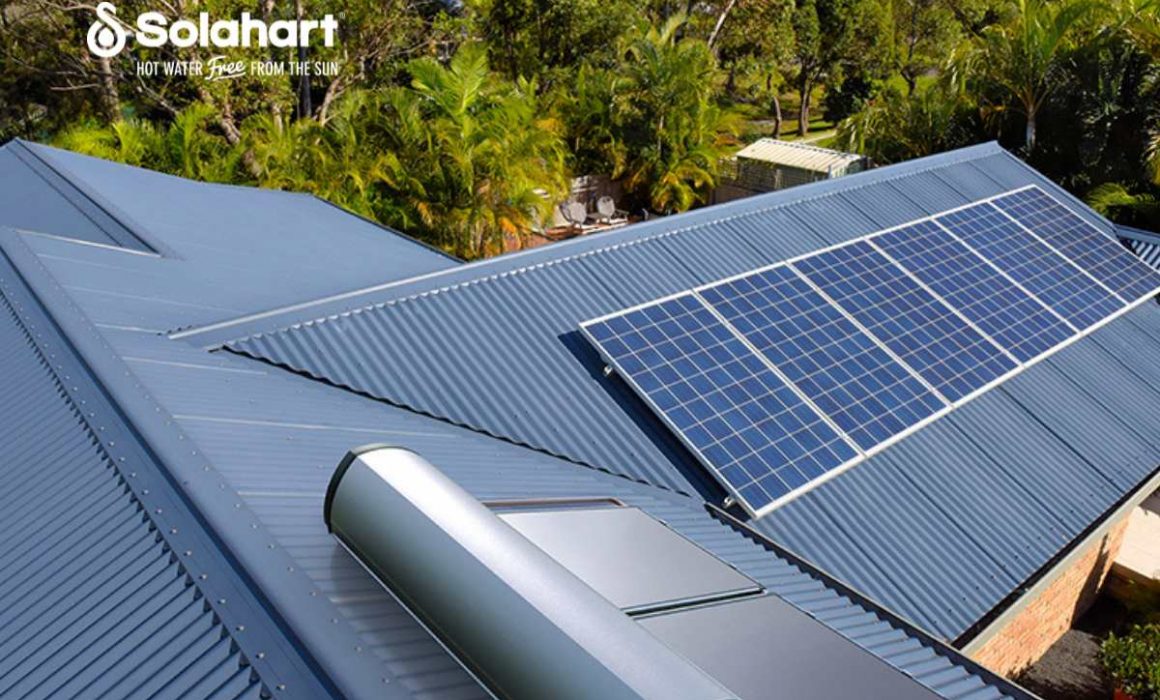
- Roof Mounting: Attach racks using bolts and waterproof flashing.
- Ground Mounting: Secure racks with concrete footings or ballasts.
- Panel Installation: Place solar panels onto mounting racks:
- Wiring: Connect panels in series to form arrays.
- Inverter Connection: Link panels to inverters, managing DC to AC conversion.
6. Electrical Wiring
- AC Wiring: Connect inverters to the main electrical panel:
- Safety: Adhere to local electrical codes for proper wiring and grounding.
- Metering: Install production meters to track solar energy generation.
7. System Testing and Commissioning
- Inspection: Conduct a final inspection to ensure system compliance with safety and performance standards.
- Testing: Verify electrical connections, panel alignment, and inverter functionality:
- Performance: Measure solar energy production under various sunlight conditions.
- Functionality: Test system operation and monitor for any errors or issues.
8. Monitoring and Maintenance
- Monitoring: Install monitoring systems to track energy production and system performance remotely.
- Maintenance: Schedule regular inspections and cleanings to optimize panel efficiency and longevity:
- Cleaning: Remove dirt, debris, and snow from panels.
- Repairs: Address any panel damage or wiring issues promptly.
Conclusion
Solar panel installation involves careful planning, skilled execution, and ongoing maintenance to maximize energy efficiency and long-term savings. By following these steps and working with experienced professionals, you can seamlessly integrate solar power into your home or business, reducing reliance on traditional energy sources and contributing to a sustainable future powered by renewable energy.


